
Well before starting this blog, I would like to mention the scope of this writing. My assumption is that you have a containerized application ready and you need to learn how to deploy that application in a way that, the application can be scalable, and you know how Kubernetes help us scale our applications or APIs with increased internet traffic.
This tutorial will cover the following: –
- What is Kubernetes?
- Kubernetes Cluster
- Linode Cloud for creating Kubernetes Cluster
- Connect to a Kubernetes Cluster
- KUBECTL (Command-line tool)
- Create a YAML file
- Send YAML file to Kubernetes Cluster using kubectl to deploy
- Make Kubernetes Cluster available on the internet
1. What is Kubernetes?
Kubernetes, also known as K8s, is an open-source system for automating the deployment, scaling, and management of containerized applications.
2. Kubernetes Cluster
You should make a Kubernetes cluster utilizing the control panel of the cloud provider that you work with. Most of the cloud providers have a different way of creating a Kubernetes cluster.
A Kubernetes cluster consists of a set of worker machines, called nodes, that run containerized applications. Every cluster has at least one worker node. The worker node(s) host the Pods that are the components of the application workload. The control plane manages the worker nodes and the Pods in the cluster. In production environments, the control plane usually runs across multiple computers and a cluster usually runs multiple nodes, providing fault-tolerance and high availability.
If you still need some help understanding the basics of Kubernetes, you can visit their documentation or refer to other online sources. In this article, we’ll further concentrate only on the deployment of applications using Kubernetes.
3. Linode Cloud for creating Kubernetes Cluster
You can use Linode to create a Kubernetes Cluster, which gives $100 USD credit for the first 60 days. So, basically, You can create a cluster for free on their cloud platform. There are other options like AWS, or GCP as well, but Linode offers the most straightforward way to create a cluster. You can use the direct link from the NetworkChuck youtube channel and get this free credit for the lab to make this Kubernetes cluster. Here is mine ):
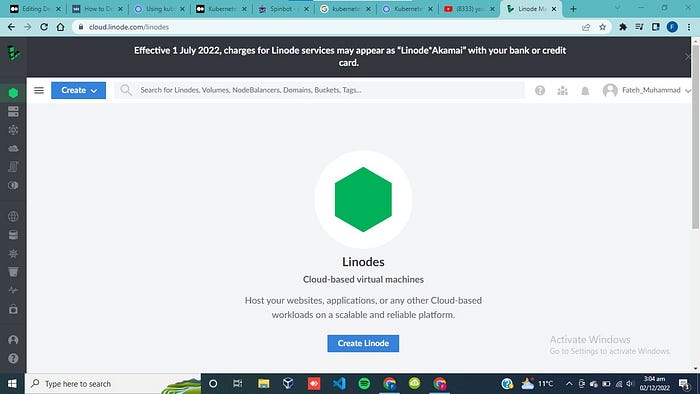
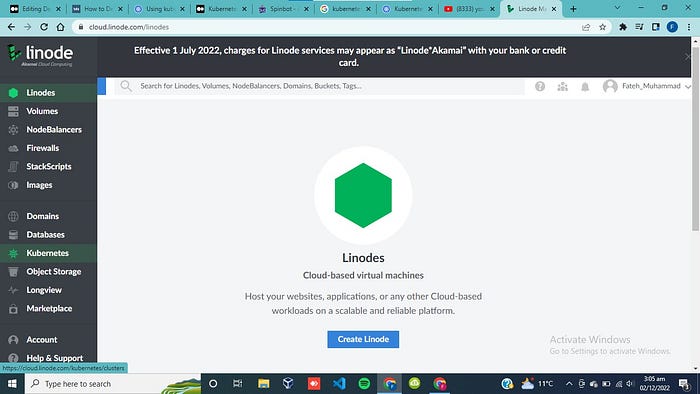
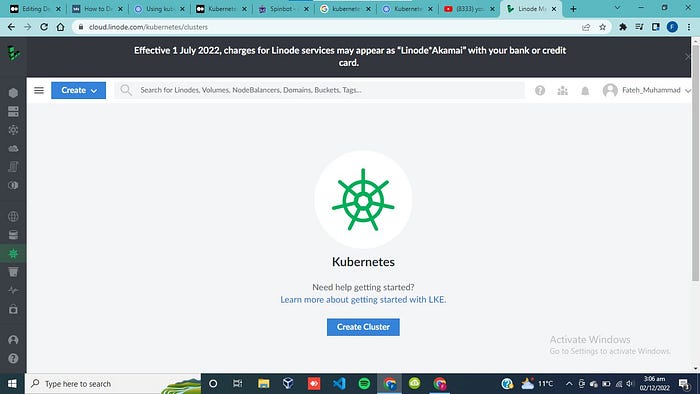
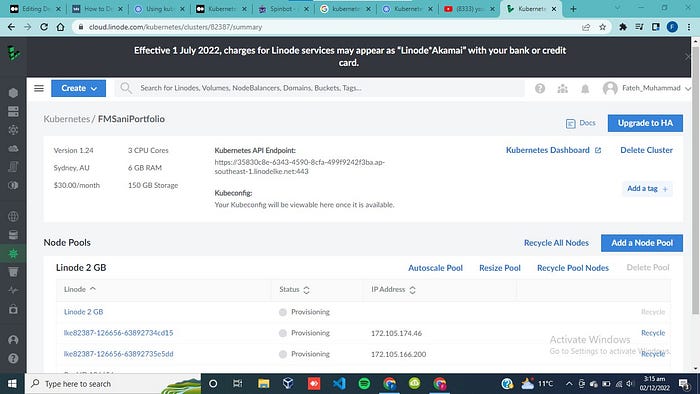
After Signing up, You can see Kubernetes if you hover the mouse on the top left menu button. Click Kubernetes, and create a cluster.

If you find any difficulty, You can refer to the following youtube video and you’ll be able to do it more smoothly.
Now, We will have to create a LoadBalancer Node, which will distribute the traffic between other nodes. And it makes sure to scale up our application when needed. LoadBalancer distributes all the arriving tasks over a set of resources to make the overall process works more efficiently. In Linode, you have to select load balancer from the top left menu button and create a load balancer. it is also too simple with this cloud platform and takes only a few steps. You can refer to the previously mentioned video in case you still face any problems.
4. Connect to a Kubernetes Cluster
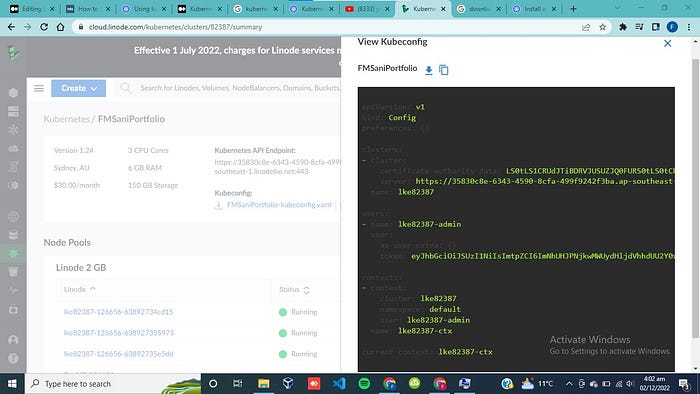
Now, after creating a Kubernetes cluster using Linode, We have to download the YAML file which will give us all the necessary information to connect to this cluster using a command line interface.
We need this YAML file in order to be able to create an authenticated connection between a remote machine and this Kubernetes cluster. We have to save this file and set the address of kubeconfig the environment variable to the address of this file. If you use a Linux terminal, you can use the code below set the value of kubeconfig.

5. KUBECTL (Command-line tool)
After setting the kubeconfig variable to the address of the YAML file, now we can start working with the Kubernetes cluster. One more thing left is to install kubectl, which is a command line tool, which allows us to manage the Kubernetes cluster using the remote machine.
The kubectl (i.e., Kubernetes command-line tool) allows you to run commands against the Kubernetes cluster, e.g., to deploy applications or inspect cluster resources.
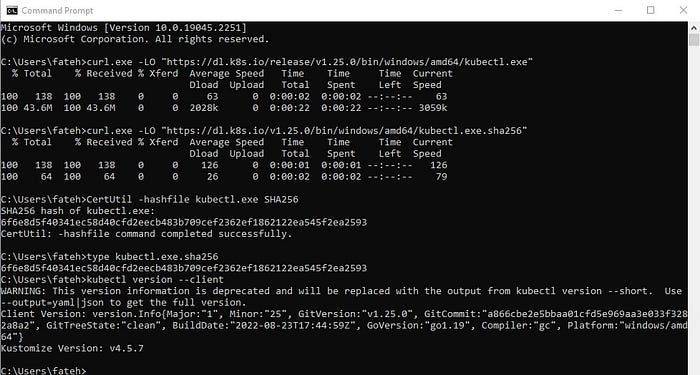
Here is the official documentation and guide to install this command line tool on windows. They have documentation for other Operating Systems as well.
curl.exe -LO "https://dl.k8s.io/release/v1.25.0/bin/windows/amd64/kubectl.exe"

curl.exe -LO "https://dl.k8s.io/v1.25.0/bin/windows/amd64/kubectl.exe.sha256"

# Validate the kubectl binary against the checksum file:
  # Using Command Prompt to manually compare CertUtil's output to
  # the checksum file downloaded:
CertUtil -hashfile kubectl.exe SHA256
type kubectl.exe.sha256

# Append or prepend the kubectl binary folder to PATH environment variable.
# Then ...
# Test to ensure the version of kubectl is the same as downloaded:

kubectl version --client

# Or use this for detailed view of version:

kubectl version --client --output=yaml
6. Create a YAML file
This YAML file will be created where the deployment details will be determined. You can use the code below as a template for the deployment manifest. This template can be used for creating this file.
apiVersion: v1
kind: Service
metadata:
  name: MY-SERVICE
  labels:
    app: MY-APP
spec:
  type: LoadBalancer
  ports:
  - port: 80
    targetPort: 80
    protocol: TCP
    name: http
  - port: 443
    targetport: 443
    protocol: TCP
    name: https
  selector:
    app: MY-APPapiVersion: apps/v1
kind: Deployment
metadata:
  name: MY-DEPLOYMENT
  labels:
    app: MY-APP
spec:
  replicas: 1
  selector:
    matchLabels:
      app: MY-APP
  template:
    metadata:
      labels:
        app: MY-APP
    spec:
      containers:
      - name: MY-APP
        image: IMAGE-NAME
        ports:
        - containerPort: 80
In this YAML file, MY-SERVICE, MY-APP, and MY-DEPLOYMENT would be project specific and you’ll have to change these according to your files. These defined variables will be used when we will make our cluster accessible to the public (on the internet). IMAGE-NAME here is the name or complete address of the containerized application that we want to deploy.
7. Send YAML file to Kubernetes Cluster using kubectl to deploy
For the first round of deployment, we’ll be using the kubectl apply command while in the next rounds of deployment we’ll use the kubectl replace command instead because we will be replacing a new version with the one which already exists on the Kubernetes cluster!
kubectl replace -f path/to/manifest/manifest.yml
After you have done this step, run kubectl get services. If the service gets deployed properly, you will see some results like below.
NAME         TYPE         CLUSTER-IP   EXTERNAL-IP  PORT(S)     AGE kubernetes   ClusterIP     X.X.X.X     <none>       443/TCP      X
MY-SERVICE   LoadBalancer  X.X.X.X     <none>          X         X
8. Make Kubernetes Cluster available on the internet
Congratulation! We are almost done. We are already done with the deployment of a containerized application. Now, we just have to expose the load balancer to the public. We need a public IP for the LoadBalancer node to let the traffic go through it. We can use the following code to get the job done.
kubectl expose deployment MY-DEPLOYMENT --type=LoadBalancer --name=MY-SERVICE
You can use kubectl get services to find out the public IP at which the service is available. So, we are finally done with the deployment of a containerized application using Kubernetes. Now, k8s can take care of scalability for us.